


** Before installing any brushcutter cutting attachments, please ensure that the correct, approved guard for the cutting attachment is in place. If you are not sure which guard you need, or how to install it, please consult the instruction manual for your model, or give us a call and we will do our best to help. **
Fitting Cutting Attachments
Metal cutting attachments such as Brushknifes and metal grass cutting blades
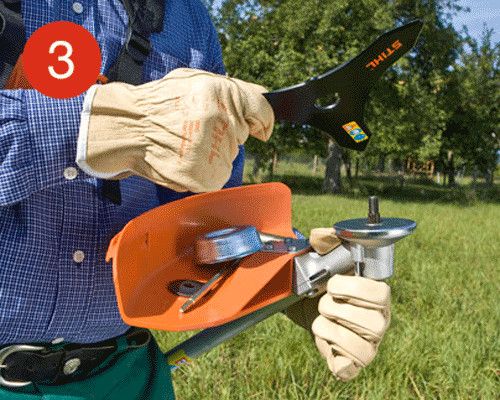
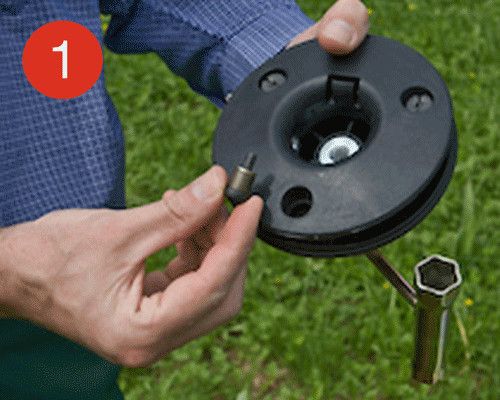
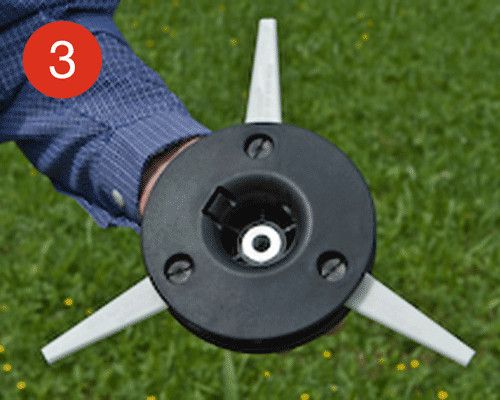
- Ensure that the guard for the cutting attachment is installed. Hold the brushcutter with the mount for the cutting attachment facing upward.
- Push the locking pin or the offset screwdriver into the hole in the gearbox. Turn the shaft until the locking pin engages and locks the shaft in position.
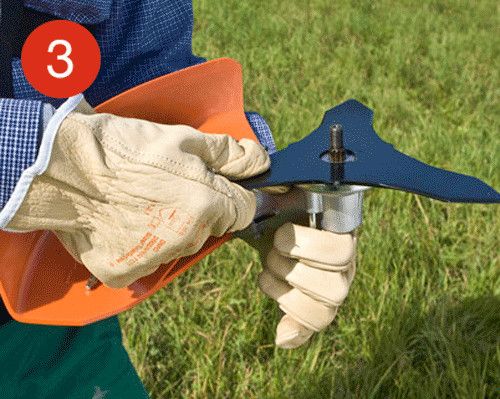
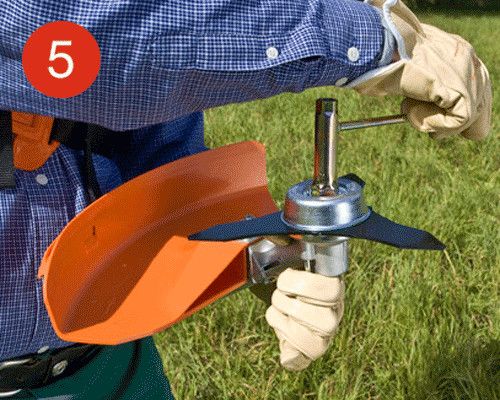
- Place the cutting attachment onto the thrust plate. Make sure the collar diameter of the plate matches the blade hole diameter and protrudes into the blade hole in the cutting attachment.
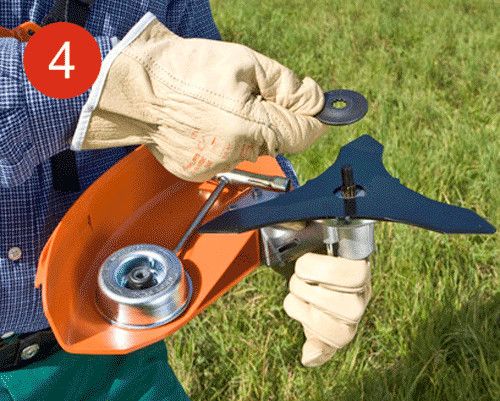
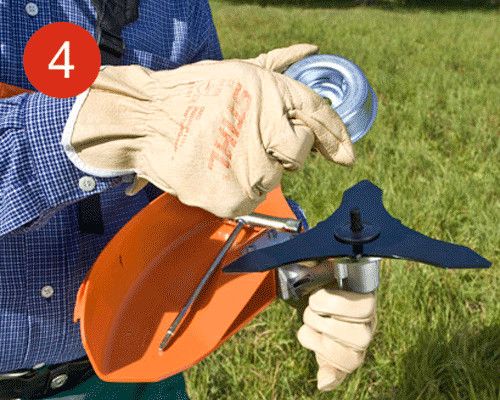
- Place the thrust washer onto the shaft, followed by the rider plate.
- Turn the self-locking nut anti-clockwise with the combination wrench to tighten it firmly. For your safety, non self-locking nuts or worn self-locking nuts should not be used.
- Remove the shaft-locking tool again


Typical mowing heads with line such as AutoCut and PolyCut
- Ensure that the guard for the cutting attachment is installed. Hold the brushcutter with the mount for the cutting attachment facing upward.
- Push the locking pin or the offset screwdriver into the hole in the gearbox. Turn the shaft until the locking pin engages and locks the shaft in position.
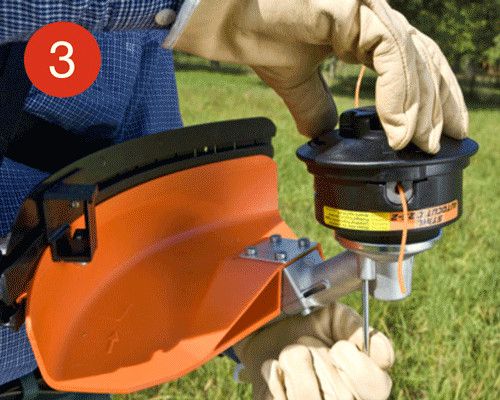
- Fit the mowing head by turning it anti-clockwise, until it reaches the stop on the shaft.
- With the shaft immobilized, tighten the mowing head.
- Remove the shaft-locking tool again


Filling the heads
With these machines all being put through their paces, a massive amount of strimmer line will be consumed and blades will get damaged. Here we talk you through how to quickly and easily refill your brushcutter heads.
Polycut
The PolyCut's plastic blade can only be replaced when the engine is switched off. Replacement blades should be soaked in water prior to fitment in order to improve service life. An overnight soaking is usually sufficient.
- Ensure that the guard for the cutting attachment is installed. Hold the brushcutter with the mount for the cutting attachment facing upward.
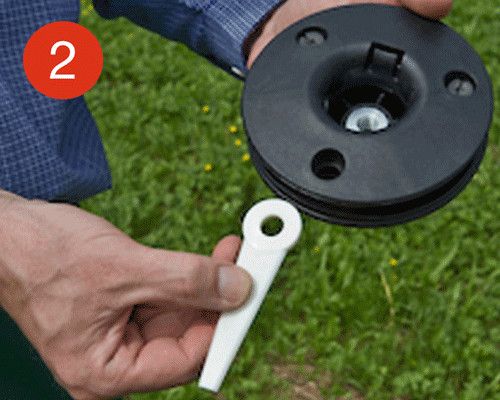
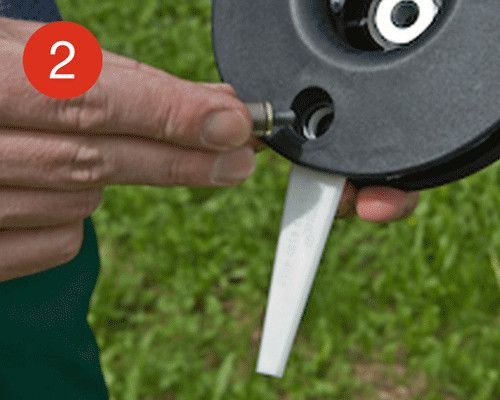
- Place the new plastic blades into the openings and insert the screw through the openings in the plastic blade and the mowing head.
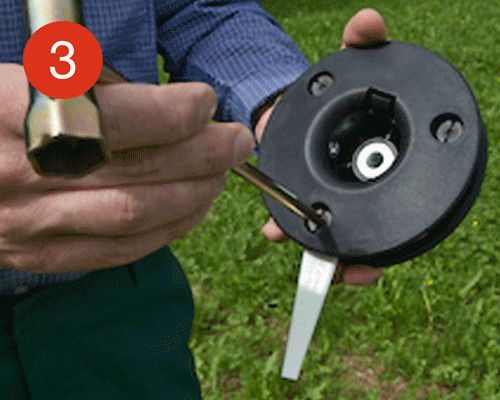
- Tighten the screw by turning it clockwise. Repeat the steps with the other two screws.

TrimCut
The TrimCut mowing head has a line storage device, but the line must be fed manually. The line may only be fed out when the engine is switched off. To do this, the screw on the mowing head must be loosened and the lines pulled out manually on both sides.
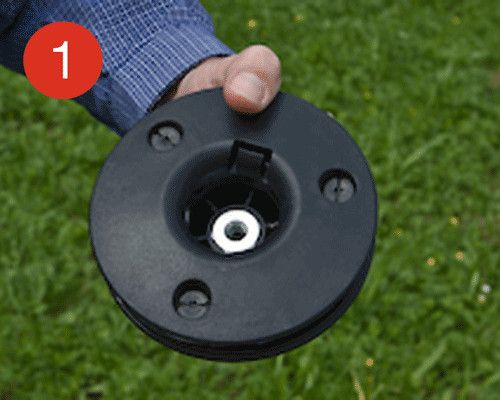
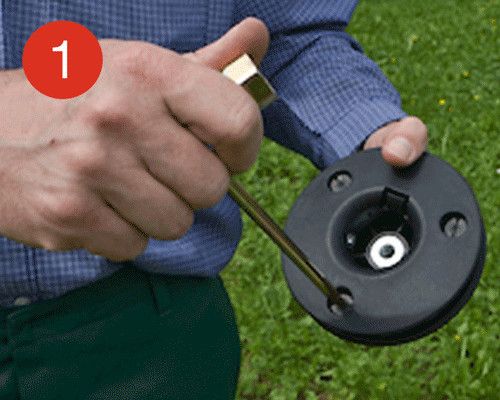
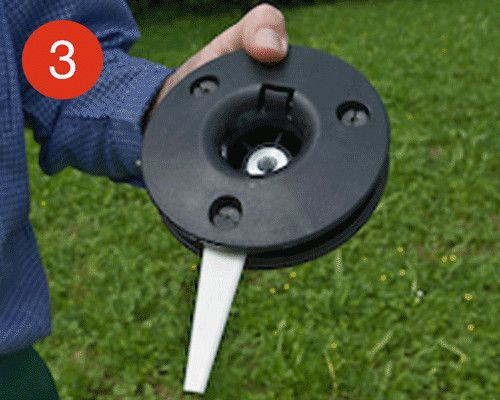
- Undo the screw on the mowing head by turning it clockwise and remove the spool
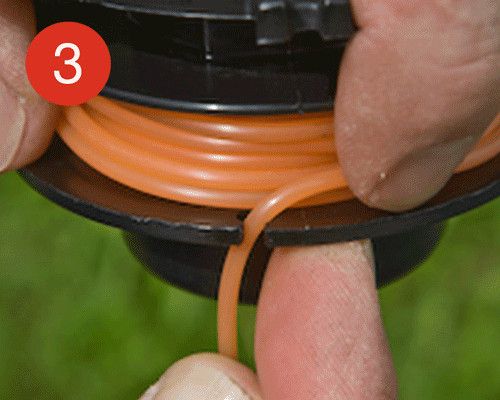
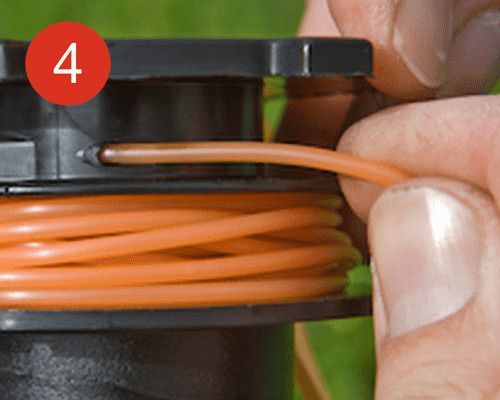
- Winding on the line. Take two lines, bearing in mind the maximum length suggested for your model and the line you’re using. Insert the end of one line in one of the eyes of the spool and wind on the line according to the indicated direction of winding. Take care to ensure that the line is wound on evenly and tightly. Insert the end of the line in one of the openings on the spool.
- Wind on the second line to re-fill the second chamber by repeating step 2. Insert the end of the second line in the opposite side of the spool.
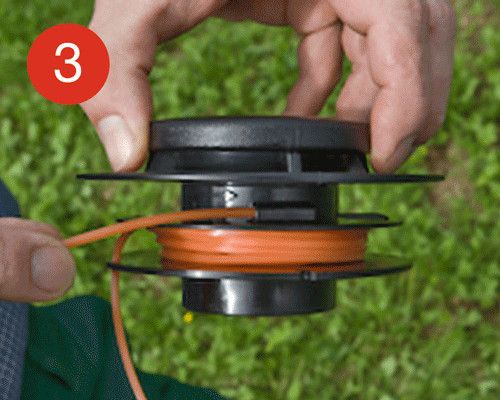
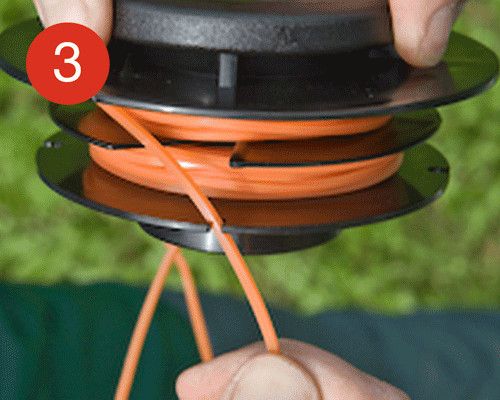
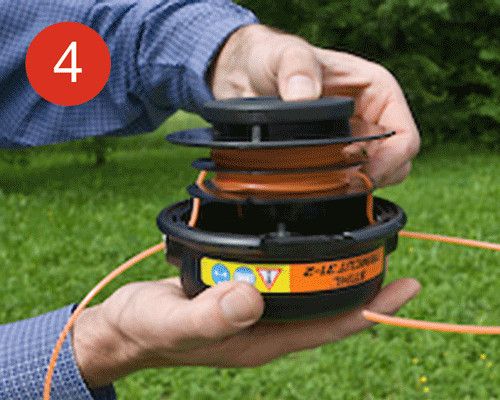
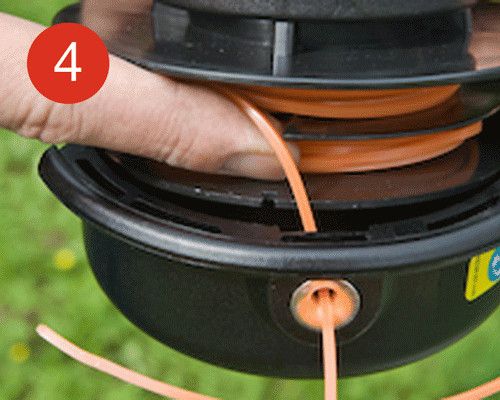
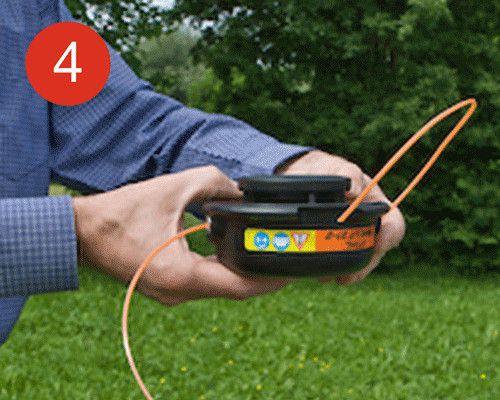
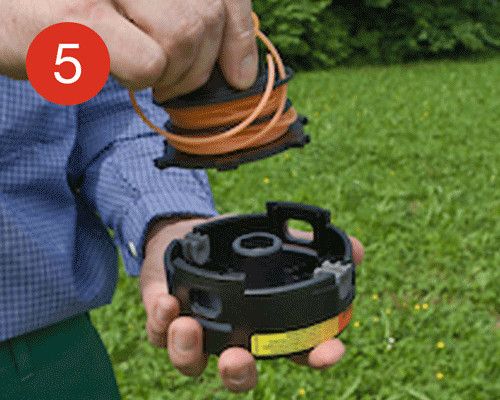
- Hold the spool over the mowing head and thread the ends of the lines through the holes in the mowing head and then pull the line out of the openings in the spool. Push the lines through to the outside, then insert the spool in the mowing head.
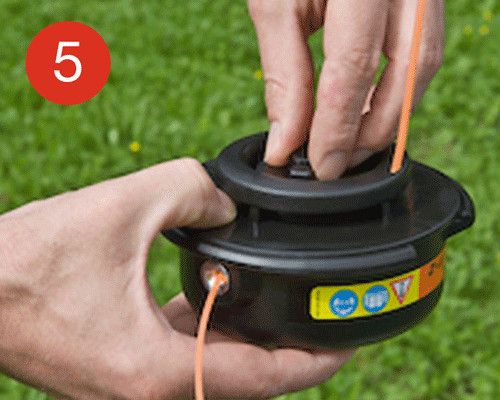
- Insert the screw and tighten it by turning it anti-clockwise.
- Shorten the ends of the line if necessary so that approximately 12cm protrudes from the opening on each side.


AutoCut
The AutoCut models all vary slightly and are refilled using different methods.
We filmed a video showing how to refeill the line in a C26-2 head which you can watch here:
Where the 2 lines are wound separately (eg. Stihl 25-2 model)
The AutoCut mowing head has a line storage device and the line is fed while the machine is running. This is done by tapping the top of the mowing head on the ground. This opens the holding mechanism for the line and centrifugal force causes line to be fed out.
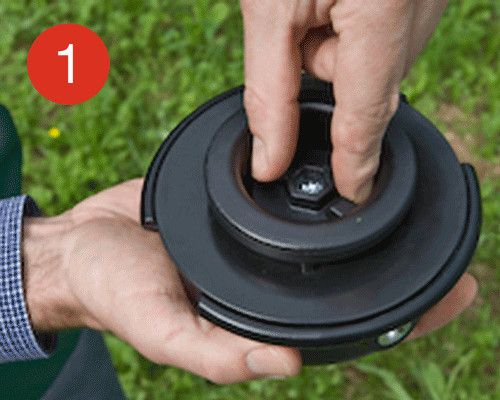
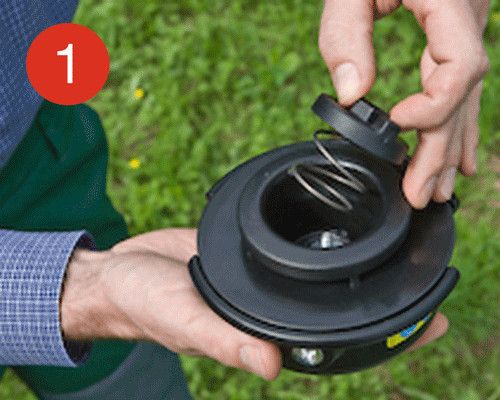
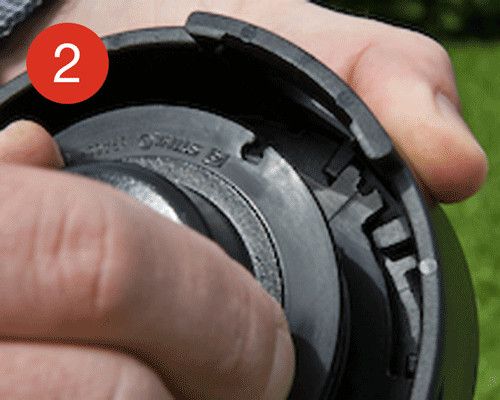
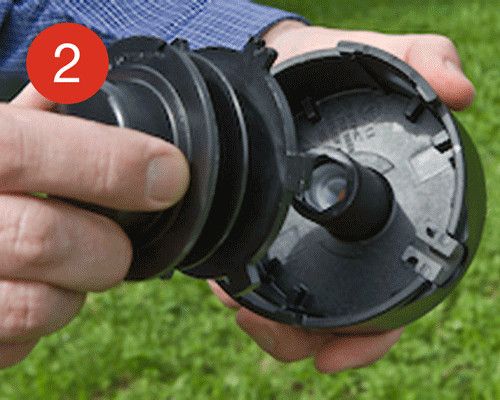
- Open the mowing head by pressing sideways on the indentation cut-outs in the top casing. Then remove the base from the mowing head. First press one side inward until the catch disengages, then press the other side. Then remove the cover of the mowing head.
- Twist the spool slightly so that the plastic hook is exposed and then remove it from the top casing.
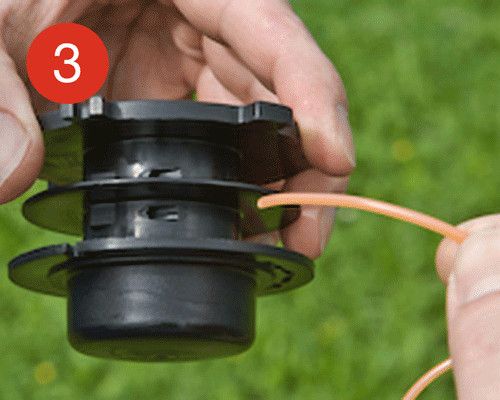
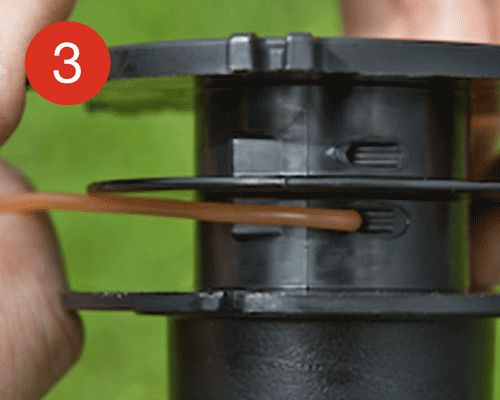
- Take two lines, bearing in mind the maximum length suggested for your model and the line you’re using. Insert the end of one line in one of the eyes of the spool and wind on the line according to the indicated direction of winding. Be sure to wind the line on evenly and tightly. Insert the end of the line in one of the openings on the spool.
- Winding on the second line to fill the second chamber by repeating step 3. Insert the end of the second line in the opposite side of the spool.
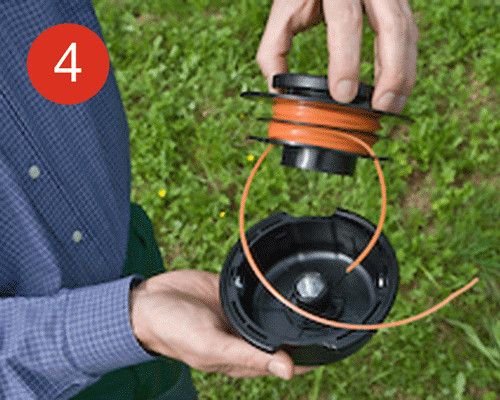
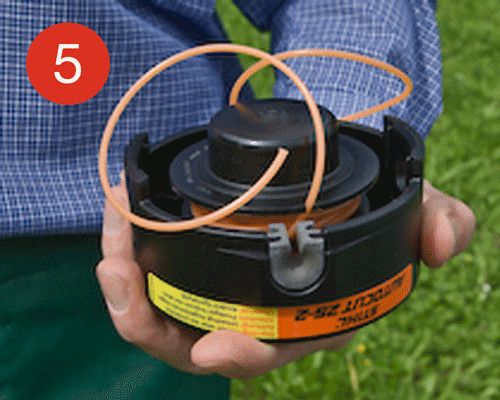
- Insert the spool into the top casing. Remove the ends of the lines from the openings in the spool and place them in the groove provided in the mowing head.
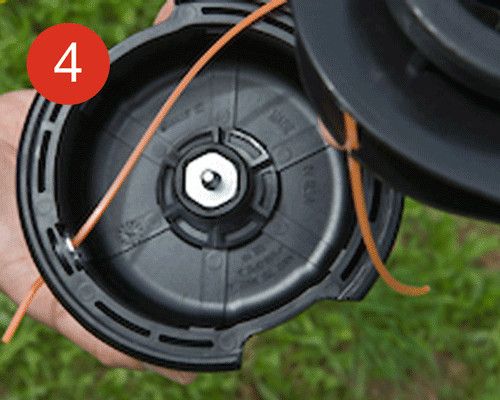
- Closing the mowing head by clipping the base into the mowing head
- If necessary, shorten the ends of the line so that approximately 10cm protrudes from the opening on each side.


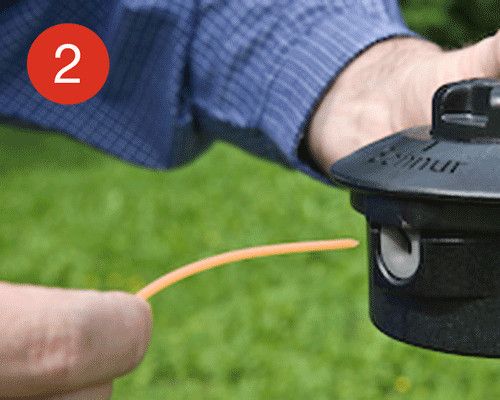
Where the lines are wound at the same time using 1 piece of line (eg. Stihl C25-2 model)
The AutoCut C head has an on-board line storage spool and the line is fed while the machine is running. This is done by tapping the end of the spool on the ground, which momentarily releases the locking mechanism allowing centrifugal force to advance a measured length of line. Excess line is trimmed by the guard mounted cutter.
With the AutoCut C, mowing line replacement is an especially fast and simple procedure. It is neither necessary to open the mowing head for refilling nor is it necessary to prepare equal lengths of mowing line.
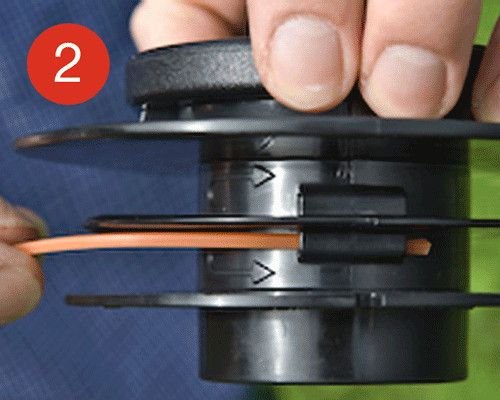
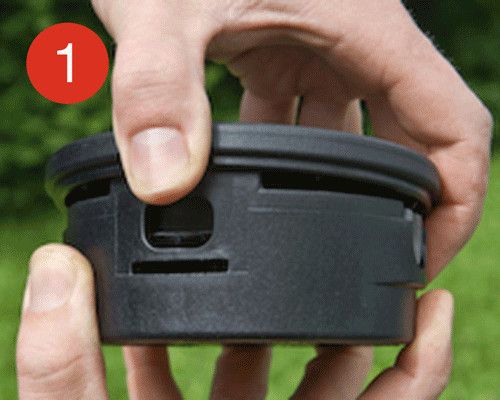
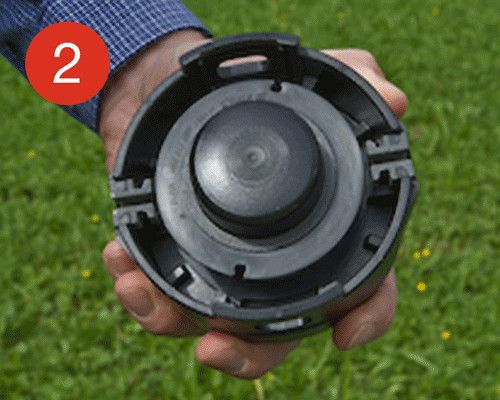
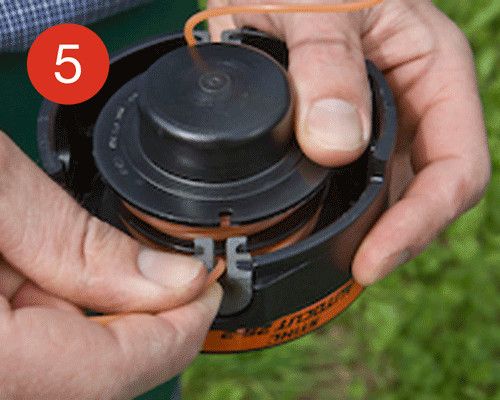
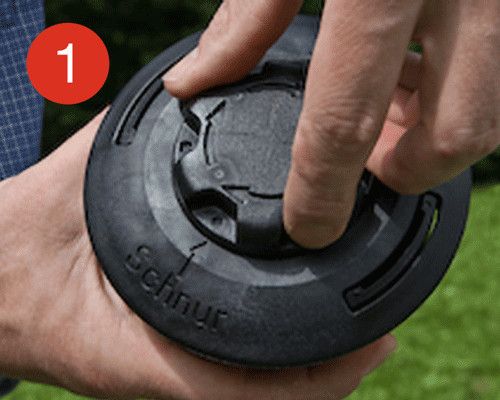
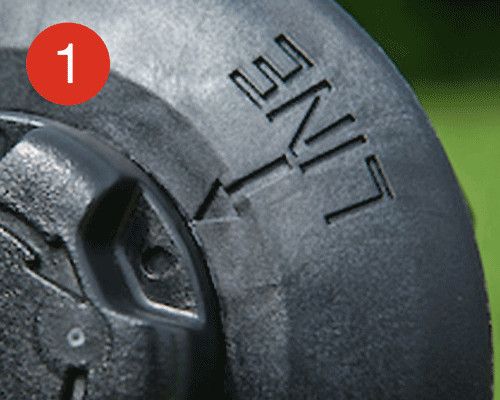
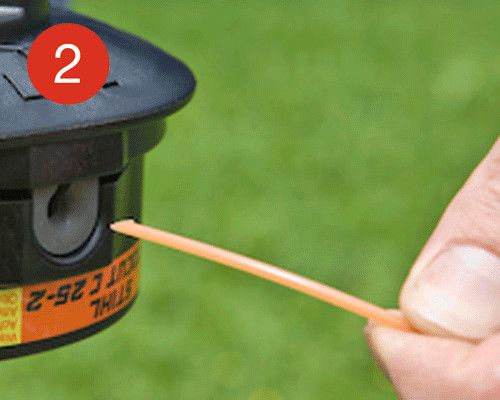
- Move the mowing head spool into position - Rotate the end of the mowing head spool until the indentations line up with the arrows on the base plate.
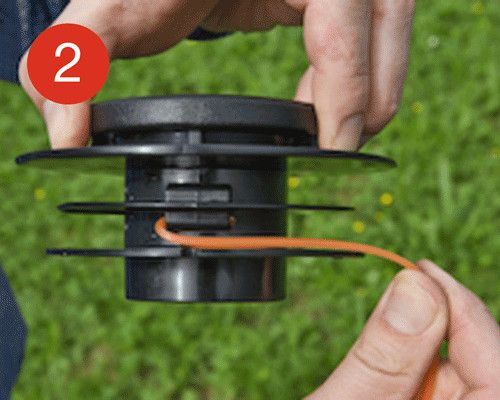
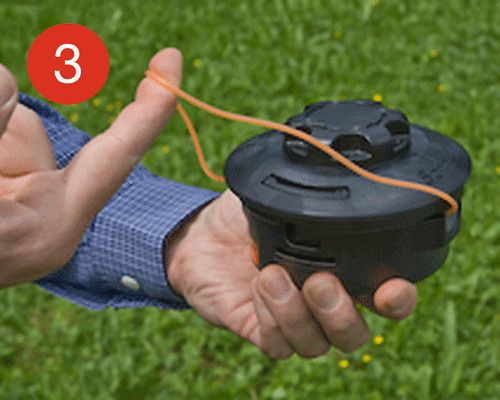
- Take a piece of line with a maximum length of 8m and insert the ends, about 30mm, or until resistance is felt, into the opposing openings of the mowing head. Make certain that the ends of the line have been trimmed with a diagonal cut.
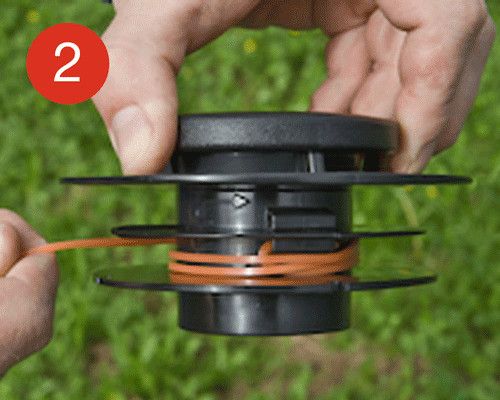
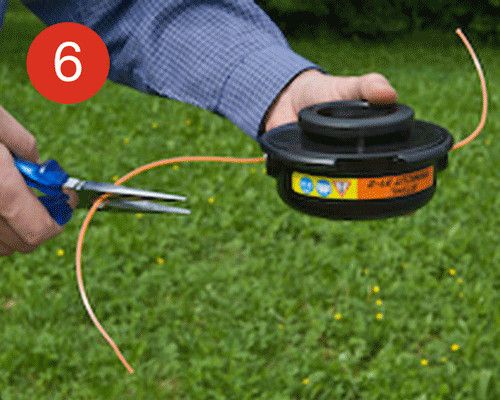
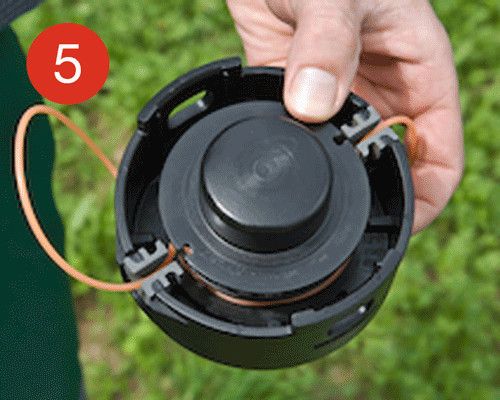
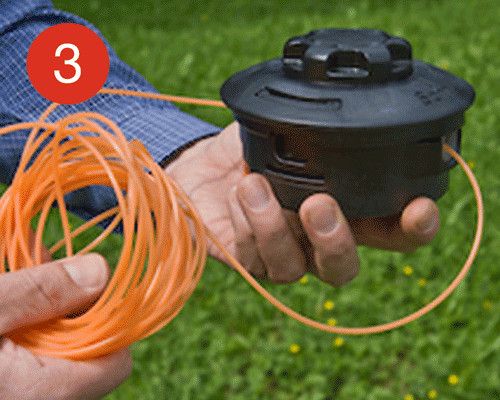
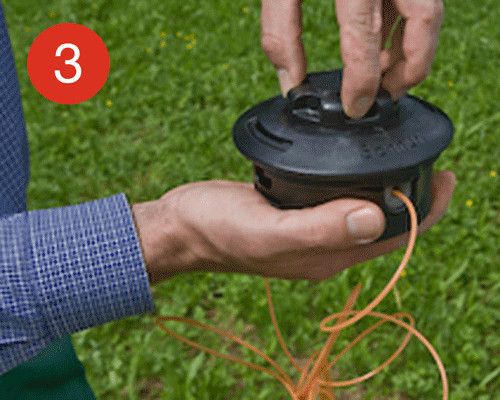
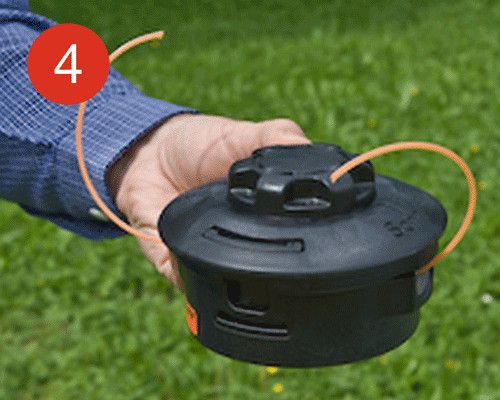
- Turn the spool of the mowing head in the direction of the arrows on the end of the spool. This winds the line onto the spool.
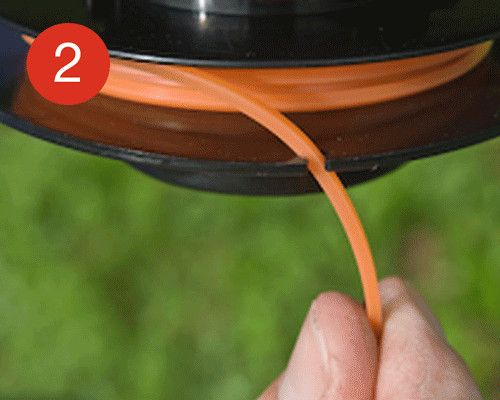
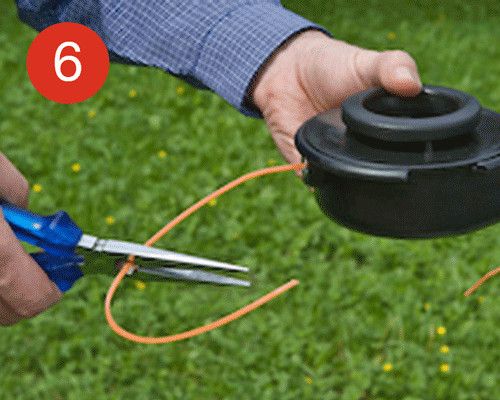
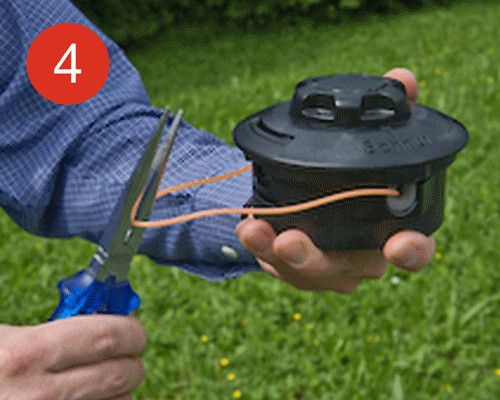
- When the line has been wound far enough, cut through the protruding line in the middle. The ends of the line should protrude approximately 12 cm out of the head.
If you are unsure on how to replace or fill your brushcutter head, please do get in touch as incorrect installation can cause serious damage to your machine.
*All images from www.stihl.co.uk