


If you’re having trouble securing a screw, a bolt, or even a spark plug, it may be because there is damage to the thread. This is a common problem, particularly in large machines where there is a lot of vibration. It can also be caused by fastening a part too tightly or applying it at the wrong angle, so the thread is incorrectly aligned. If you experience this issue, you should address it immediately to avoid machine breakdown.
The good news is that it is usually a simple fix!
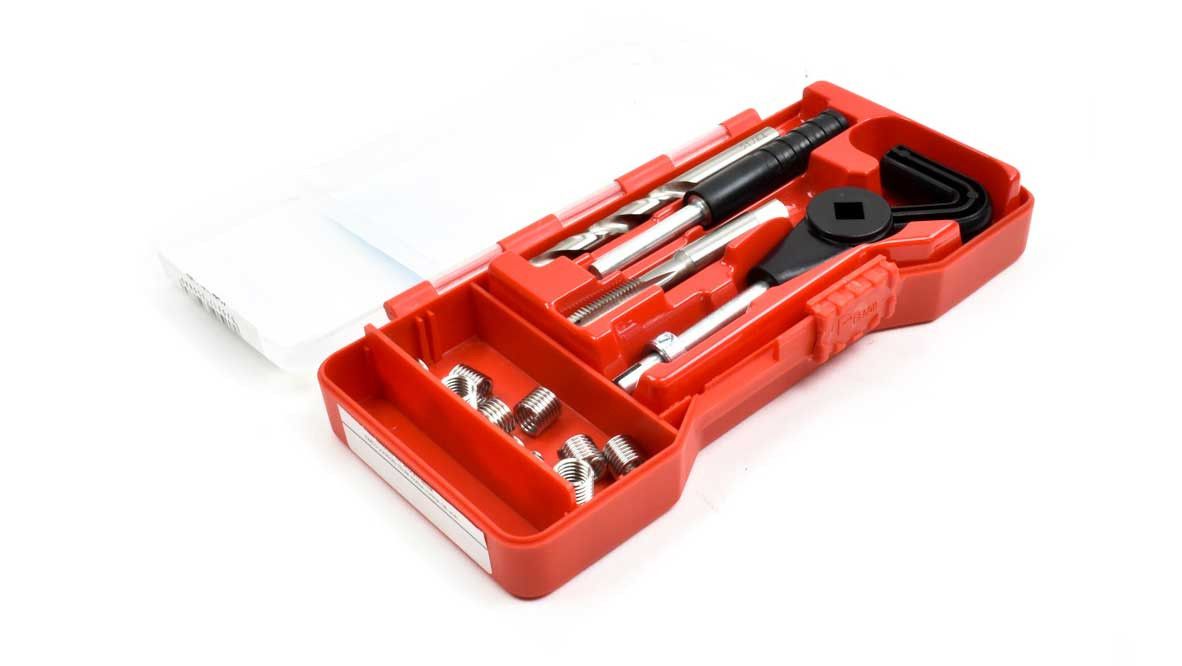
We would recommend using a Thread Repair Kit, commonly known as a ‘Helicoil Kit’. Helicoil kits come in a range of sizes so they can be used for numerous parts and machines to repair damaged threads.
What’s included in a Thread Repair Kit?
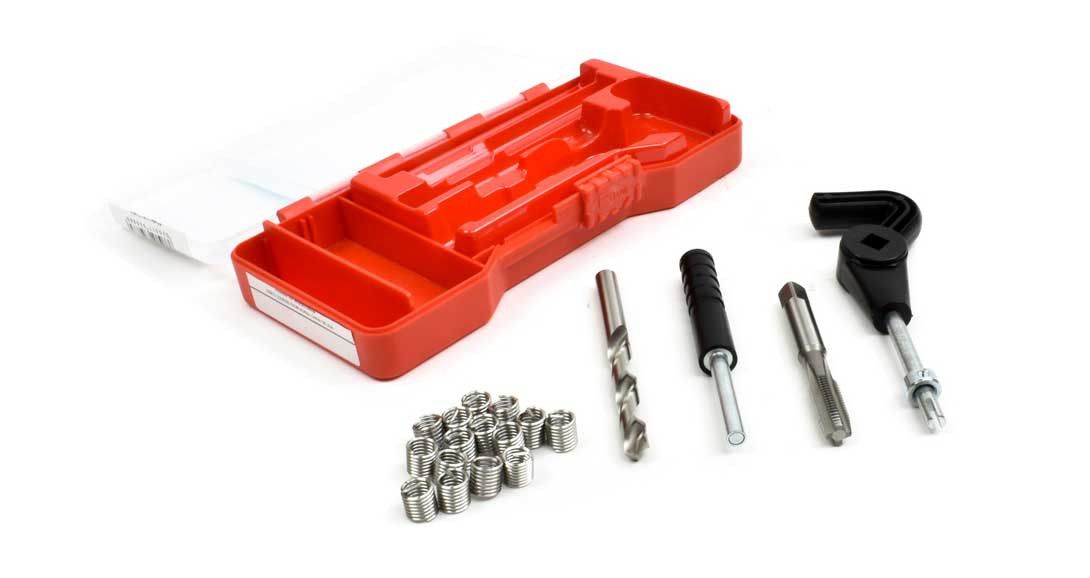
If you purchase a Thread Repair Kit from HTS Spares, you will find the following items in the box:
- Drill bit - You will be provided with a drill bit to drill the hole to the correct size for the new thread
- Quality HSS Tap - This tool cuts through the material to create the grooves for the new insert
- Precision stainless steel inserts - These small ‘springs’ are screwed into the hole and their diamond shape edges form the new thread. They feature a tang which hooks onto the installation tool for easy insertion.
- Installation tool - This is used to screw the new inserts in quickly and easily.
- Breaking tool/punch - The breaking tool is pushed through the insert after installation to break off the tang.
How to work out the size of kit you need
Before starting, you will need to determine the size of the Helicoil you need for your application. Use the screw or bolt to identify the:
Diameter: Using a Caliper, measure the diameter of the bolt.
Pitch: Using a Pitch Gauge, measure the pitch of the bolt or screw to determine what pitch size is needed. The pitch is the size of each thread on an insert.
Example: If the thread diameter is 10mm and the pitch measures 1.5mm you will need a M10 x 1.5 kit.
How to use a Helicoil kit
- Clear the damaged thread using the drill bit provided in the kit.
- Using the tap provided, cut the new threads into the hole, using a small amount of cutting oil or cutting fluid for lubrication.
- Place the insert on the installation tool and position it so that the tang fits into the slot at the end.
- Begin winding the new insert into the hole, twisting until it is secure. Stop when it is about half a turn below the surface.
- Unscrew the tool and the insert will remain securely in place.
- Insert the breaking tool provided and give it a sharp tap with a hammer to break the tang off the end.